Thursday, December 15, 2011
MESSAGE FROM AIL STAFF!!!
ATTENTION PLEASE!!!! From AIL STAFF!!!
In light of the issues with the credit card payments, we have decided that right now all payments must be made through Paypal. You can still use a credit card through Paypal. We are sorry for the inconvenience, but hope that for now this will be more beneficial for everyone. Thank you for your patience and Happy Shopping!!!
In light of the issues with the credit card payments, we have decided that right now all payments must be made through Paypal. You can still use a credit card through Paypal. We are sorry for the inconvenience, but hope that for now this will be more beneficial for everyone. Thank you for your patience and Happy Shopping!!!

Sexy Snow
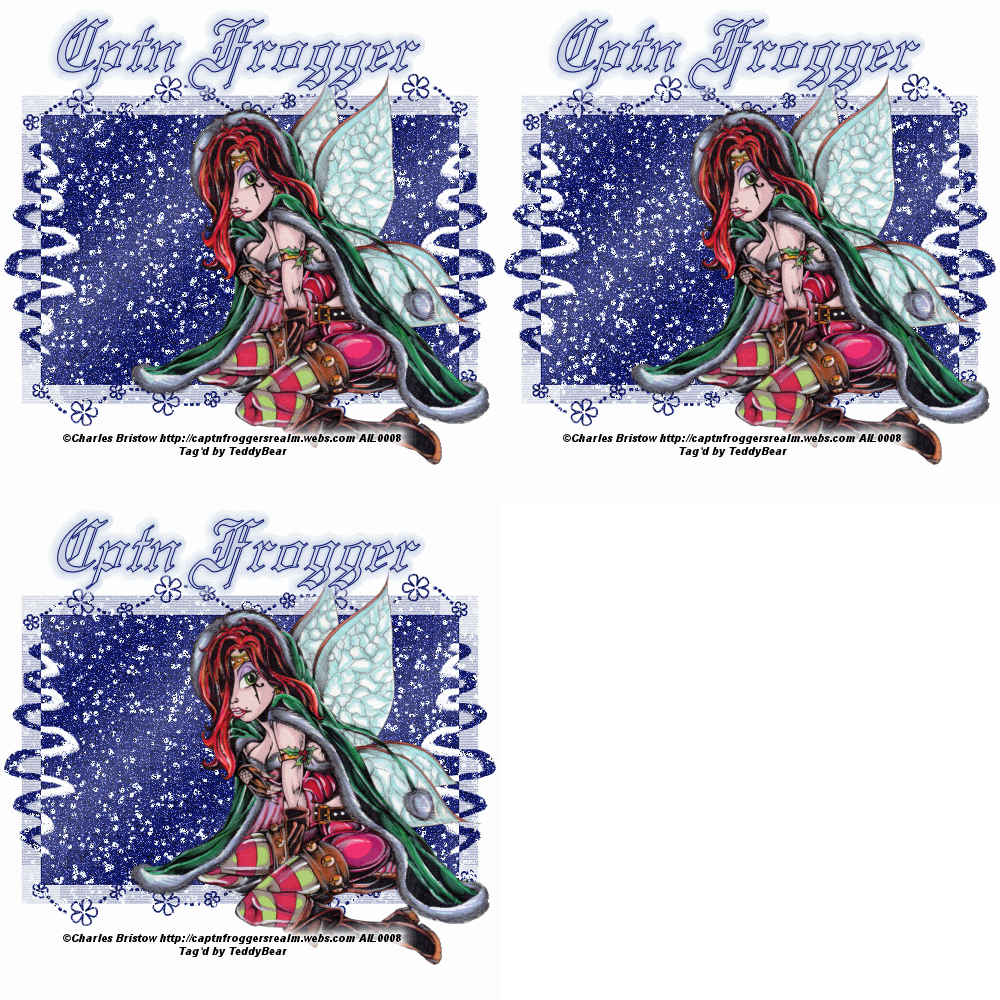
This tutorial was written by TeddyBear on 9 Dec., 2011. Any resemblance to any other tutorial is purely coincidental.
Supplies:
Tube of choice. I'm using the artwork of Charles R Bristow. Please do NOT use his work unless you have the proper license to do so. You can purchase his work and obtain a license from AIL
Mask - WSL233
Filters - VDL Adrenaline - Snowflakes
This tutorial was written with assumption that you have a basic working knowledge of PSP. I'm using PSP X2, but this can be done in any other version
Let's begin!!
Open a 500x500 transparent canvas, flood fill white
New raster layer, flood fill with a dark color from your tube, add remove noise random 40, apply your mask and merge group, add a drop shadow of choice
Copy and paste your tube, resize if needed and move to the right of your mask, add a drop shadow of choice
Add your artist info and license #
Add your name
Duplicate your mask layer 2 times so that you have 3 mask layers
on your first layer apply VDL Adrenaline - Snowflakes default settings, change color to icy blue
Repeat this step on the other 2 layers, but change your random seed number for each layer
Open up animation shop
Go to PSP and hide 2 of your mask layers
activate your tube layer and copy merged, go into animation shop and paste as a new animation
Back in PSP, hide your first mask layer and unhide your second, copy merged, and paste after current frame back in animation shop
Again back in PSP hide you r second layer and unhide your 3rd mask layer, copy merged and again paste after current frame in animation shop
In animation shop click on your first frame, edit select all and change your frame properties to 55
Save your tag as a GIF
Done!!!


Saturday, November 19, 2011
UPDATE!!
Ok so I've been really busy here lately, with work and my step-kids being here over the summer PLUS marrying the most wonderful most beautiful woman in the world...the lovely Kellie of Coyotie Designs
I have a lot of new tuts that I just need to get posted on here and several more in the works and I'm working on adding a fan page to Facebook so look for it very soon
SILVER AND GOLD TAG CONTEST!!!!
The new PSP Party E-Mag is having a tag contest!!!!
Come and join us in the Silver and Gold tag contest....the link to all the details is below
and come like our fan page on Facebook....located HERE
All winners will be posted in the Dec. issue of PSP Party E-Mag!!!!
Subscribe to:
Posts (Atom)
Grab My Blinkie


I CT For


My Favorite Sites


My Licenses


