Powered by Blogger.
Followers
Saturday, December 24, 2011
Behind Blue Eyes
This tutorial was written by TeddyBear on 22 Dec., 2011. Any resemblance to any other tutorial is purely coincidental
Supplies:
Tube of choice. I'm using the artwork of Kim Draper. Please do NOT use her work unless you have the proper license to do so. You can purchase her work and obtain a license from AIL
Mask - Vix_Mask308
This tutorial was written with the assumption that you have a basic working knowledge of PSP. I'm using PSP X2, but this can be done in any other version
Open a 600x600 transparent canvas and flood fill white
Open a new raster layer and flood fill with a med dark color from your tube and apply your mask, merge group, resize this layer by 70%
Using your rectangle preset shape tool, draw out a good sized box with your foreground color set to the blue and your background color set to nil line width set at 9, convert this to a raster layer
Using your magic wand click inside the square and expand by 3, copy and paste a close-up of your tube, invert and hit delete, add a drop shadow to your square and tube layers, lower the tube opacity to 40, merge down
Using a font of choice, type out the phrase "No one knows what it's like to be lonely like me behind these blue eyes, add a drop shadow
Copy and paste your regular tube, resize as needed, move towards the bottom of your square, add a drop shadow
Crop tag
Add artist info and license #
Add name
Done!!
Friday, December 16, 2011
Mistress 4 Christmas
This tutorial was written by TeddyBear on 16 Dec. 2011. Any resemblance to any other tutorial is purely coincidental
Supplies:
Tube of choice (laying tube if possible). I used the artwork of Freya Langford-Sidebottom. Please do NOT use her work unless you have the proper license to do so. You can purchase this work and obtain a license at AIL
Scrap kit of choice. I'm using a PTU kit called X-Mas Wishes by Kelly Childress of Scraps by Storm. you can purchase this kit and many more awesome kits from her at Heartbeatz Creationz
Masks - Vix_Mask297 & Vix_Mask428
Filters - Xero - Porcelain
EyeCandy 4000 - Corona
This tutorial was written with the assumption that you have a basic working knowledge of PSP. I;m using PSP X2, but this can be done in any other version
Let's get started!!
Open a 600x600 transparent canvas - Flood fill white
Copy and paste paper apply Vix_Mask297 - merge group - resize by 75% - lower opacity to 83%
Copy and paste green glitter tile - apply Vix_Mask428 - merge group - resize by 75% - lower opacity to 51%
Copy and paste poinsetta - drag below both mask layers
Copy and paste tube - move towards to bottom of tag - resize - add drop shadow
Copy and paste tree - resize - add drop shadow
Type out the words "Mistress 4 Christmas" - apply porcelain - apply corona with the setting below
Add drop shadow
Crop tag
Add artist info and license #
Add name
Done!!
Thursday, December 15, 2011
MESSAGE FROM AIL STAFF!!!
ATTENTION PLEASE!!!! From AIL STAFF!!!
In light of the issues with the credit card payments, we have decided that right now all payments must be made through Paypal. You can still use a credit card through Paypal. We are sorry for the inconvenience, but hope that for now this will be more beneficial for everyone. Thank you for your patience and Happy Shopping!!!
In light of the issues with the credit card payments, we have decided that right now all payments must be made through Paypal. You can still use a credit card through Paypal. We are sorry for the inconvenience, but hope that for now this will be more beneficial for everyone. Thank you for your patience and Happy Shopping!!!
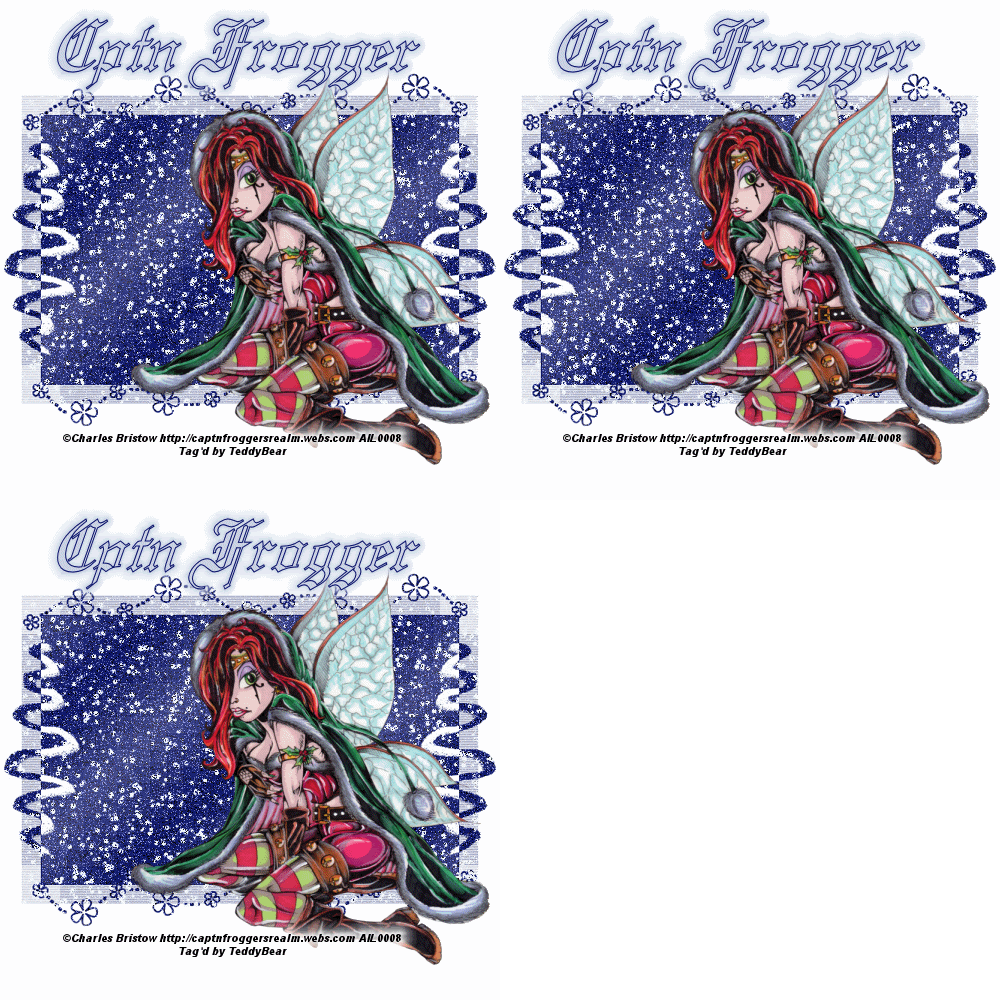
Sexy Snow
This tutorial was written by TeddyBear on 9 Dec., 2011. Any resemblance to any other tutorial is purely coincidental.
Supplies:
Tube of choice. I'm using the artwork of Charles R Bristow. Please do NOT use his work unless you have the proper license to do so. You can purchase his work and obtain a license from AIL
Mask - WSL233
Filters - VDL Adrenaline - Snowflakes
This tutorial was written with assumption that you have a basic working knowledge of PSP. I'm using PSP X2, but this can be done in any other version
Let's begin!!
Open a 500x500 transparent canvas, flood fill white
New raster layer, flood fill with a dark color from your tube, add remove noise random 40, apply your mask and merge group, add a drop shadow of choice
Copy and paste your tube, resize if needed and move to the right of your mask, add a drop shadow of choice
Add your artist info and license #
Add your name
Duplicate your mask layer 2 times so that you have 3 mask layers
on your first layer apply VDL Adrenaline - Snowflakes default settings, change color to icy blue
Repeat this step on the other 2 layers, but change your random seed number for each layer
Open up animation shop
Go to PSP and hide 2 of your mask layers
activate your tube layer and copy merged, go into animation shop and paste as a new animation
Back in PSP, hide your first mask layer and unhide your second, copy merged, and paste after current frame back in animation shop
Again back in PSP hide you r second layer and unhide your 3rd mask layer, copy merged and again paste after current frame in animation shop
In animation shop click on your first frame, edit select all and change your frame properties to 55
Save your tag as a GIF
Done!!!
Subscribe to:
Comments (Atom)


